


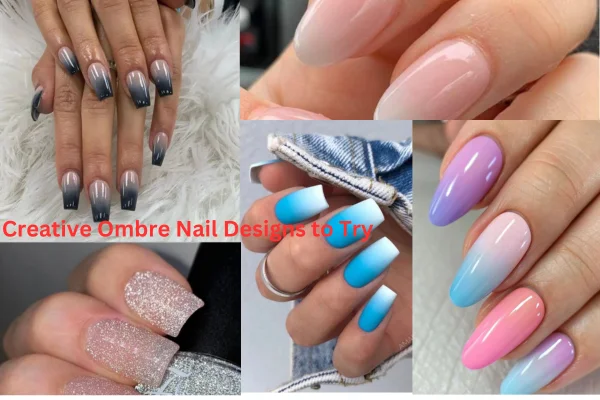
Ombre nails have taken the beauty world by storm, captivating the hearts of both nail art enthusiasts and casual beauty lovers. Their seamless blend of colors offers a chic, modern look that allows for endless creativity. Whether you’re planning to visit a salon or try your hand at DIY techniques at home, ombre nail designs provide a versatile canvas for artistic expression. In this article, we’ll dive into some exciting ombre nail designs that you can try in 2025. Let’s explore how you can stay ahead of the trend with these stunning nail art ideas.
What Are Ombre Nails?

Ombre nails are a type of nail art where colors blend into each other, creating a gradient effect. This design can be achieved using various techniques, including sponging, airbrushing, or using a gradient brush. The result is a smooth transition between colors that gives a sophisticated and eye-catching look.
The Magic of Gradient
The magic of ombre lies in its ability to create a smooth and seamless transition between colors. This gradual blending of hues offers an eye-catching effect that is both modern and timeless. By utilizing different techniques such as sponging or airbrushing, nail artists can achieve a variety of gradient effects that suit any style or occasion.
Techniques for Achieving Ombre
To achieve the desired ombre effect, there are several techniques to consider. Sponging, one of the most popular methods, involves using a makeup sponge to dab colors onto the nails. This technique allows for easy blending and is perfect for beginners. Airbrushing, on the other hand, requires more advanced equipment and skills but offers a flawless finish. Lastly, using a gradient brush gives precision and control, making it ideal for intricate designs.
Versatility and Customization
One of the greatest advantages of ombre nails is their versatility. With a wide range of color combinations, ombre nails can be customized to fit any personal style or occasion. From subtle pastels for a soft, romantic look to bold neons for a vibrant and energetic vibe, the possibilities are endless. This adaptability makes ombre nails a popular choice for both everyday wear and special events.
Why Choose Ombre Nails?
Ombre nails are popular for several reasons. They offer a unique, fashionable look that can be customized to fit any style or occasion. Whether you prefer subtle transitions or bold contrasts, ombre nails can be tailored to suit your taste. They are also versatile enough to complement any outfit, making them a perfect choice for both everyday wear and special events.
Aesthetic Appeal
The aesthetic appeal of ombre nails cannot be overstated. The seamless blend of colors creates a visually striking effect that draws attention and admiration. Whether you choose a subtle gradient or a bold contrast, ombre nails add a touch of sophistication and elegance to any look. This makes them a favorite among fashion-forward individuals who want to make a statement with their nails.
Customization and Personalization
Ombre nails offer endless possibilities for customization and personalization. With a wide range of color combinations and techniques available, you can create a look that is uniquely yours. Whether you prefer a classic two-tone ombre or a more intricate design, ombre nails allow you to express your creativity and showcase your personal style. This level of customization makes ombre nails a versatile choice for any occasion.
Complementary to Any Outfit
One of the greatest advantages of ombre nails is their ability to complement any outfit. The gradual blending of colors creates a harmonious look that enhances any ensemble. Whether you’re dressing up for a special occasion or keeping it casual, ombre nails add a touch of elegance and sophistication to your overall appearance. Their versatility makes them a go-to choice for individuals who want to elevate their style.
Ombre Nail Designs for 2025
In 2025, ombre nail designs continue to evolve, offering new and exciting possibilities for nail art enthusiasts. From classic two-tone ombres to daring neon gradients, there’s a design for every taste and occasion. Let’s explore some of the hottest ombre nail designs to try this year.
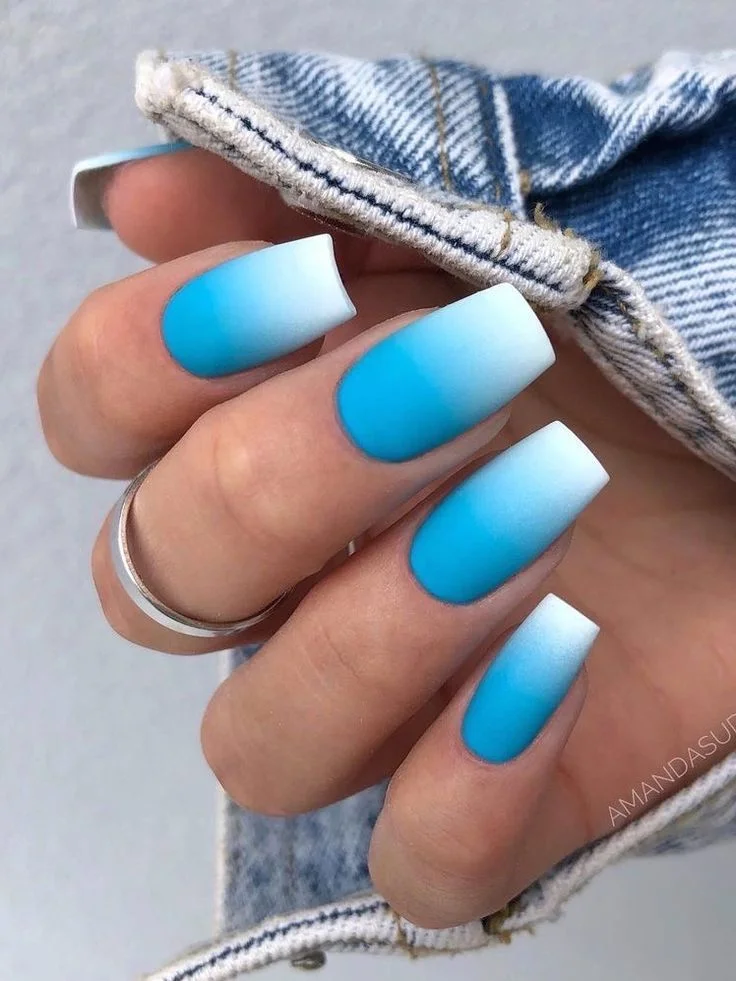
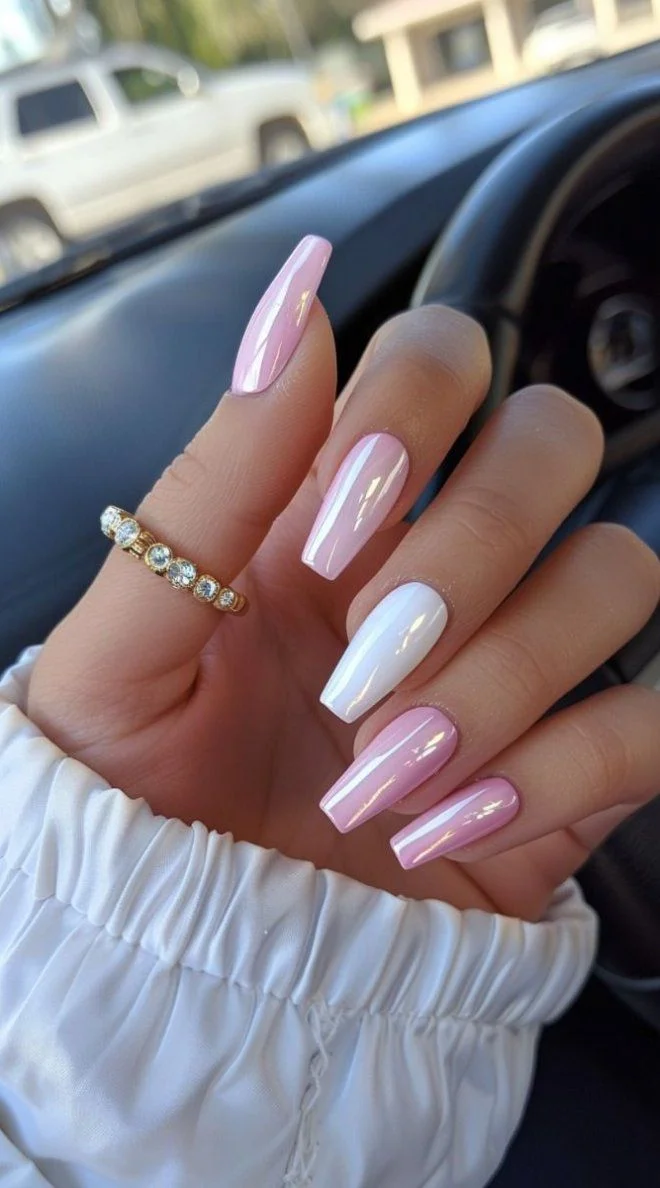
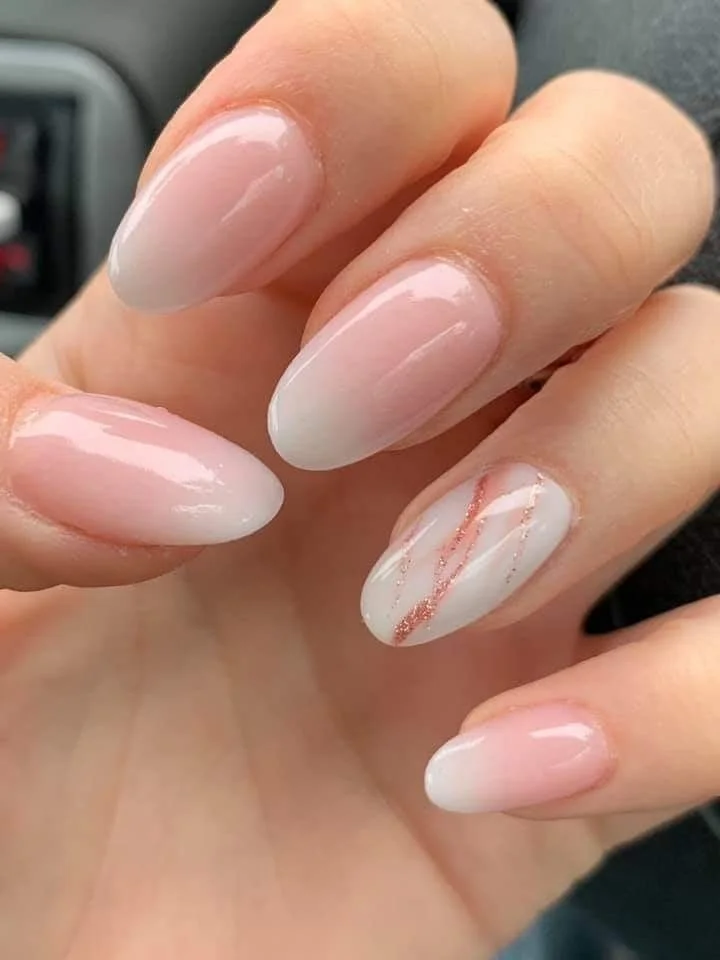
Classic Two-Tone Ombre
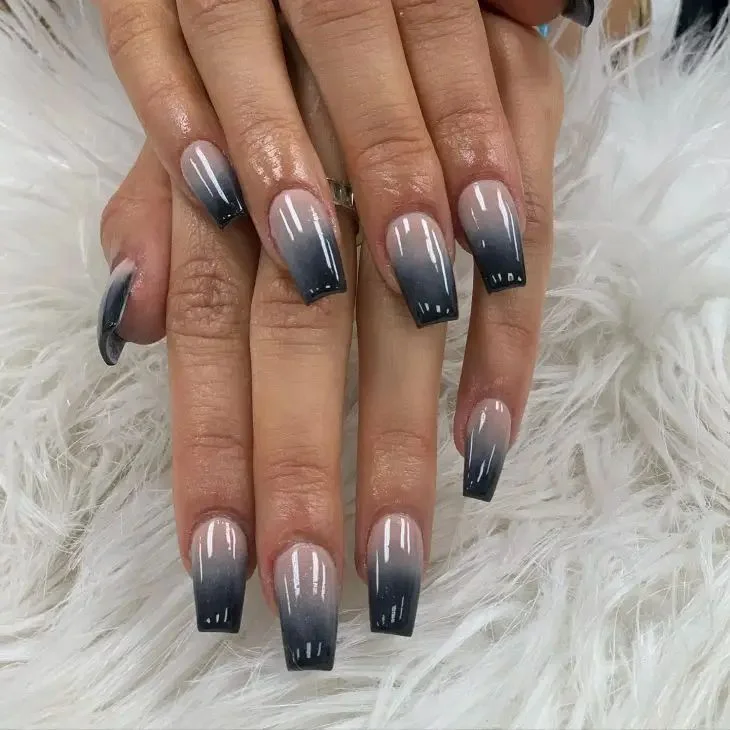

The classic two-tone ombre is a simple yet elegant design that never goes out of style. By choosing two complementary colors, such as pink and white or blue and green, you can create a seamless blend from the base to the tip of your nails. This design is perfect for those who appreciate a minimalist aesthetic but still want to make a statement.
Choosing Colors

When selecting colors for a classic two-tone ombre, it’s important to consider complementary shades that create a harmonious blend. Popular combinations include soft pastels for a delicate look or bold hues for a more striking effect. Experimenting with different color palettes allows you to customize the design to suit your personal style.
Application Techniques
To achieve a flawless two-tone ombre, there are several application techniques to consider. Sponging is a popular method that involves dabbing colors onto the nails using a makeup sponge. This technique allows for easy blending and is perfect for beginners. For a more precise gradient, consider using a gradient brush or airbrushing for a professional finish.
Versatility and Timelessness
The classic two-tone ombre is a versatile design that can be adapted to suit any occasion. Whether you’re attending a formal event or simply want to elevate your everyday look, this design adds a touch of elegance and sophistication. Its timeless appeal ensures that it remains a staple in the world of nail art.
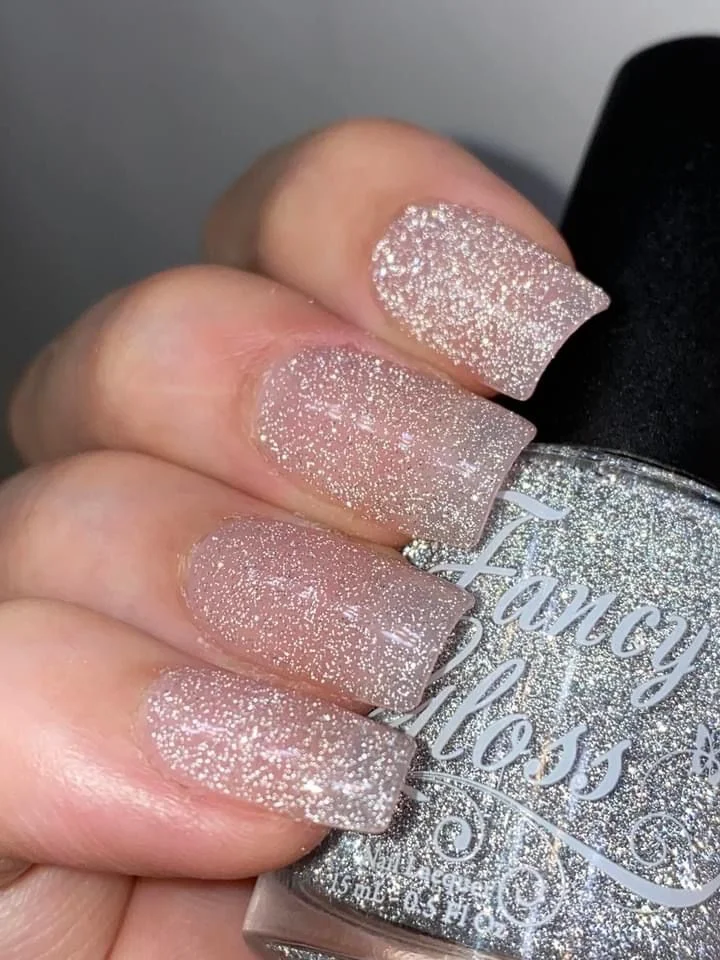
Glitter Ombre
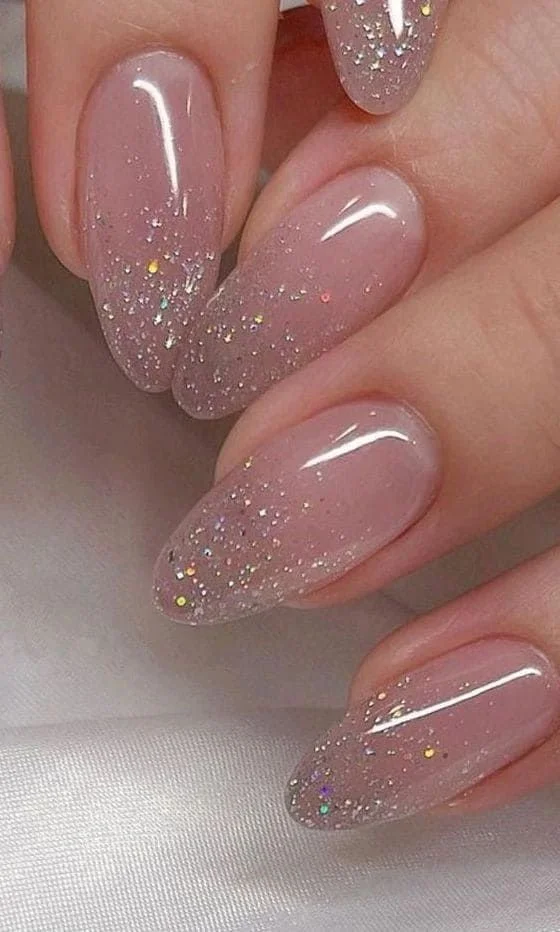

For a touch of glamour, try adding glitter to your ombre nails. Start with a solid color at the base and gradually blend in a glitter polish towards the tips. This design is ideal for parties, weddings, or any event where you want to add a bit of sparkle to your look.
Adding Sparkle
To create a dazzling glitter ombre, start by selecting a glitter polish that complements your chosen base color. Consider different glitter sizes and colors to achieve the desired effect. Experimenting with various combinations allows you to create a unique and eye-catching design that suits your style.
Application Techniques
Applying glitter to your ombre nails requires a bit of patience and precision. Start by applying a base color and allowing it to dry completely. Then, using a small brush or sponge, gently dab the glitter polish onto the tips of your nails, gradually blending it into the base color. Finish with a top coat to seal the design and add shine.
Perfect for Special Occasions
Glitter ombre nails are the perfect choice for special occasions where you want to add a touch of glamour to your look. Whether you’re attending a wedding, party, or formal event, this design adds a bit of sparkle and sophistication. Its eye-catching effect ensures that your nails stand out and make a statement.
Sunset Ombre
Capture the beauty of a sunset with this vibrant ombre design. Use warm colors like orange, pink, and yellow to create a gradient that mimics the natural hues of a sunset. This design is perfect for summer and adds a pop of color to your nails.
Choosing Colors
When creating a sunset ombre, it’s important to choose colors that reflect the natural hues of a sunset. Consider warm shades like orange, pink, and yellow for a vibrant and eye-catching effect. Experimenting with different color combinations allows you to create a unique and personalized design.
Application Techniques
To achieve a flawless sunset ombre, consider using a sponging technique for easy blending. Start by applying a base color and allowing it to dry completely. Then, using a makeup sponge, dab the chosen colors onto the nails, gradually blending them to create a seamless gradient. Finish with a top coat to seal the design and add shine.
Perfect for Summer
The sunset ombre design is perfect for summer, adding a pop of color and vibrancy to your nails. Whether you’re heading to the beach or enjoying a tropical vacation, this design complements any summer outfit and enhances your overall look. Its warm and inviting hues make it a popular choice for the sunny season.
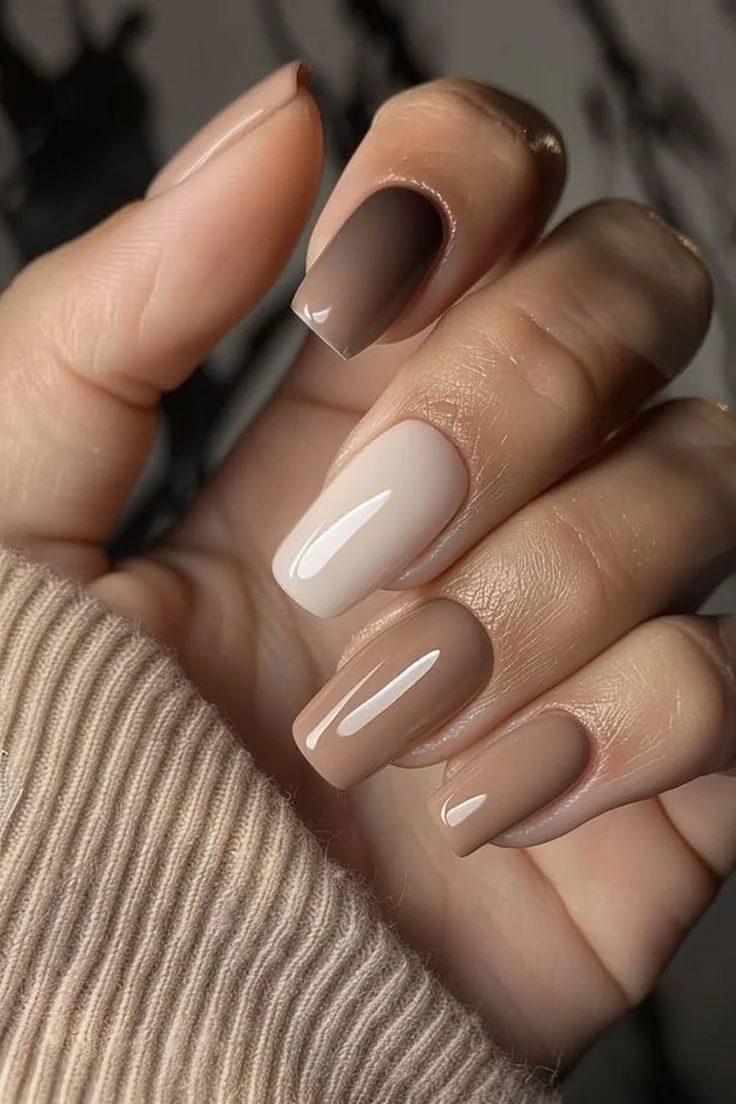
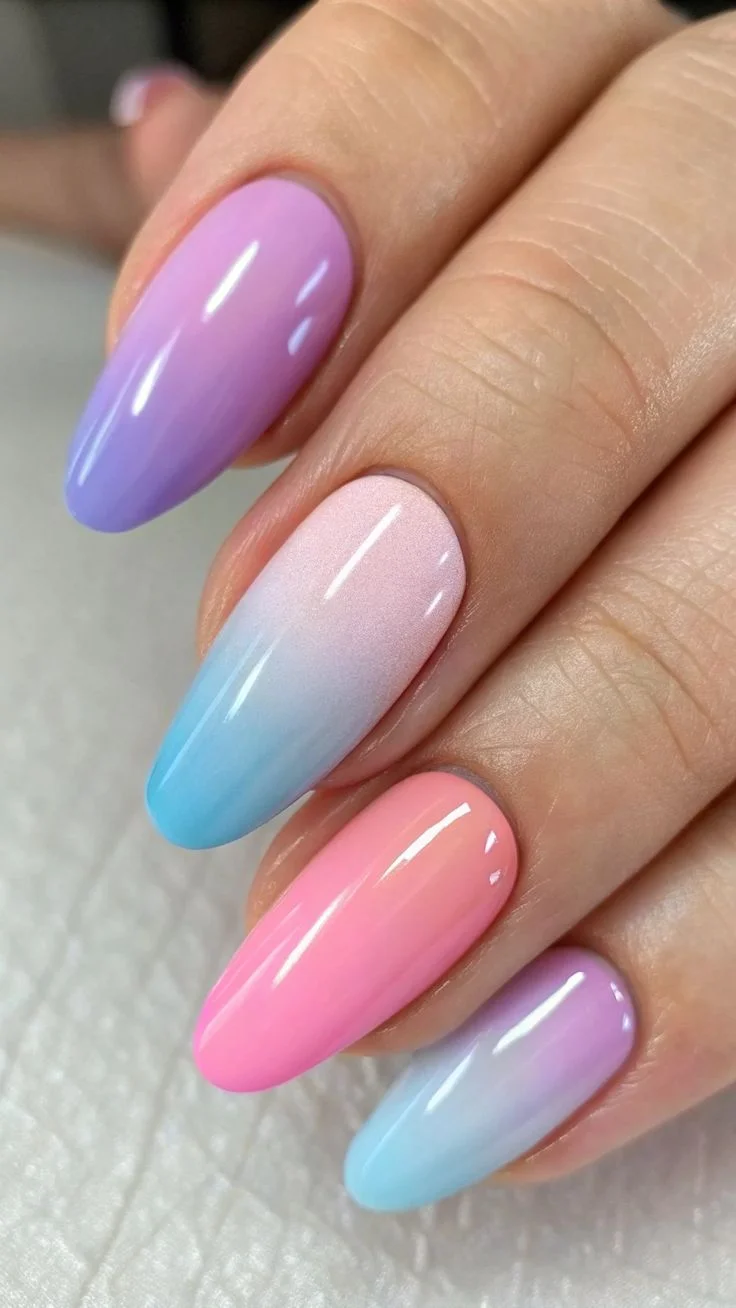
Pastel Ombre
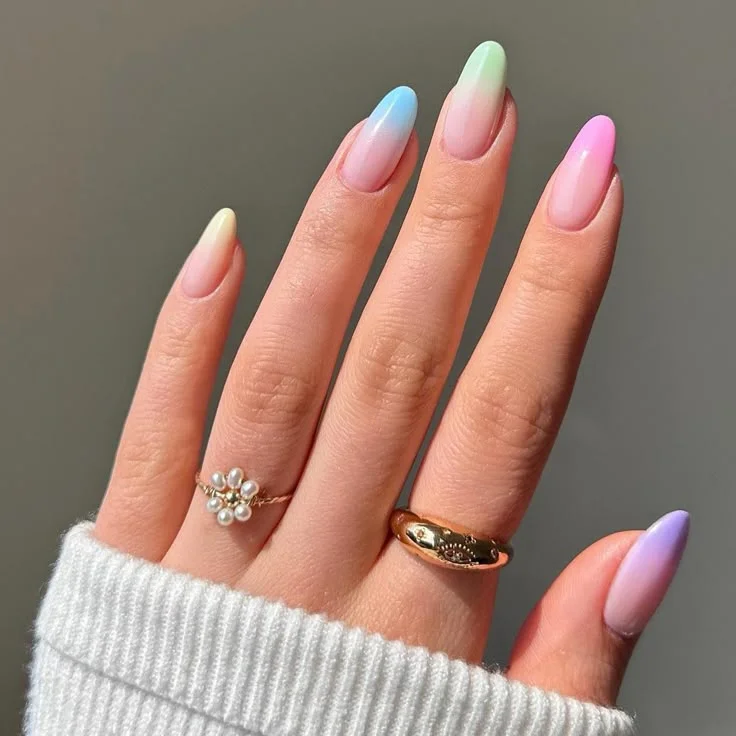
Pastel shades are perfect for a soft and dreamy ombre look. Choose pastel colors like lavender, mint, and baby blue to create a delicate gradient effect. This design is great for springtime and adds a touch of elegance to your nails.
Choosing Colors
When selecting colors for a pastel ombre, consider soft and muted shades that create a delicate and dreamy effect. Popular choices include lavender, mint, and baby blue for a romantic and feminine look. Experimenting with different pastel combinations allows you to create a unique and personalized design.
Application Techniques
To achieve a flawless pastel ombre, consider using a sponging technique for easy blending. Start by applying a base color and allowing it to dry completely. Then, using a makeup sponge, dab the chosen pastel colors onto the nails, gradually blending them to create a seamless gradient. Finish with a top coat to seal the design and add shine.
Perfect for Spring
The pastel ombre design is perfect for spring, adding a touch of elegance and sophistication to your nails. Whether you’re attending a garden party or simply enjoying the blooming season, this design complements any spring outfit and enhances your overall look. Its soft and delicate hues make it a popular choice for the season of renewal.
Neon Ombre
If you’re in the mood for something bold and daring, neon ombre nails are the way to go. Use bright, fluorescent colors like neon pink, green, and yellow to create a striking gradient.
Choosing Colors
When creating a neon ombre, it’s important to choose bright and fluorescent colors that create a bold and eye-catching effect. Consider neon pink, green, and yellow for a vibrant and energetic look. Experimenting with different neon combinations allows you to create a unique and personalized design.
Application Techniques
To achieve a flawless neon ombre, consider using a sponging technique for easy blending. Start by applying a base color and allowing it to dry completely. Then, using a makeup sponge, dab the chosen neon colors onto the nails, gradually blending them to create a seamless gradient. Finish with a top coat to seal the design and add shine.
Perfect for Festivals and Night Outs
The neon ombre design is perfect for festivals, night outs, or any occasion where you want to stand out. Its bold and daring hues add a playful and lively twist to your nail art, ensuring that your nails make a statement. Whether you’re dancing the night away or enjoying a music festival, this design complements any vibrant and energetic outfit.
DIY Ombre Nail Techniques
Creating ombre nails at home can be a fun and rewarding experience. With a few simple techniques and a bit of practice, you can achieve stunning ombre designs without visiting a salon. Let’s explore some popular DIY ombre nail techniques that you can try at home.
Sponging Technique
The sponging technique is a popular method for creating ombre nails at home. Here’s how you can achieve this look:
- Prepare Your Nails: Start by applying a base coat to protect your nails.
- Choose Your Colors: Select two or more colors for your ombre design.
- Apply to Sponge: Paint strips of your chosen colors onto a makeup sponge.
- Dab on Nails: Press the sponge onto your nails, gently dabbing to blend the colors.
- Top Coat: Finish with a top coat to smooth out the design and add shine.
Preparing Your Nails

Before starting the sponging technique, it’s important to prepare your nails to ensure a smooth application. Begin by applying a base coat to protect your nails and create a smooth surface. This step helps prevent staining and ensures that the colors adhere properly. Allow the base coat to dry completely before proceeding to the next step.
Choosing and Applying Colors
When choosing colors for the sponging technique, consider selecting shades that create a harmonious gradient. Experiment with different color combinations to achieve the desired effect. Once you have your colors, paint strips of each shade onto a makeup sponge. This allows for easy blending and ensures a seamless transition between colors.
Perfecting the Blend
To achieve a flawless ombre effect, gently dab the sponge onto your nails, starting from the base and working towards the tip. Use light, tapping motions to blend the colors together. If needed, repeat the process to intensify the gradient. Finish with a top coat to smooth out the design and add shine, ensuring a polished and professional finish.
Brush Technique
For a more precise gradient, try using a brush technique:
- Base Color: Apply a base color to your nails and let it dry.
- Gradient Brush: Use a gradient brush to apply a second color at the tip of your nails.
- Blend: Gently blend the colors using light, sweeping motions.
- Seal the Design: Apply a top coat to secure the gradient effect.
Preparing Your Nails
Before starting the brush technique, it’s important to prepare your nails to ensure a smooth application. Begin by applying a base color to your nails and allowing it to dry completely. This step creates a smooth surface for the gradient and ensures that the colors adhere properly.
Using a Gradient Brush
A gradient brush allows for precise application and control when creating an ombre effect. Dip the brush into the second color and apply it to the tips of your nails. Use light, sweeping motions to blend the colors together, creating a seamless transition. Experiment with different brush sizes and angles to achieve the desired effect.
Perfecting the Gradient

To perfect the gradient, continue blending the colors until you achieve the desired effect. Use light, sweeping motions to ensure a smooth transition between shades. If needed, repeat the process to intensify the gradient. Finish with a top coat to seal the design and add shine, ensuring a polished and professional finish.
Salon vs. DIY Ombre Nails
While DIY techniques can be fun and rewarding, visiting a professional salon offers certain advantages. Professional nail artists have the skills and tools to create intricate ombre designs with flawless execution. If you’re new to nail art or want a polished look for a special occasion, a salon visit might be the best option.
Advantages of Salon Ombre Nails
Visiting a professional salon offers several advantages when it comes to achieving ombre nails. Nail artists have access to high-quality tools and products that ensure a flawless finish. Their expertise allows them to create intricate designs and execute complex techniques with precision. If you’re looking for a polished and professional look, a salon visit is the way to go.
Benefits of DIY Ombre Nails
For those who enjoy experimenting and expressing their creativity, DIY ombre nails offer a fulfilling and rewarding experience. With practice and patience, you can achieve salon-quality results at home. DIY techniques allow you to customize your design and try new color combinations, giving you the freedom to express your personal style.
Making the Right Choice
Deciding between salon and DIY ombre nails depends on your preferences and skill level. If you’re new to nail art or need a polished look for a special occasion, a salon visit may be the best option. However, if you enjoy experimenting and want to express your creativity, DIY techniques offer a fun and fulfilling hobby. Consider your needs and preferences to make the right choice for you.
Tips for Maintaining Ombre Nails
To keep your ombre nails looking fresh and vibrant, follow these maintenance tips:
Regular Top Coat Application
Applying a top coat regularly is essential for maintaining the shine and longevity of your ombre nails. The top coat acts as a protective barrier, preventing chipping and fading. Make it a habit to apply a fresh layer every few days to ensure your nails stay looking their best.
Moisturizing Your Nails
Keeping your nails and cuticles moisturized is crucial for preventing dryness and breakage. Regularly applying cuticle oil or moisturizing cream helps maintain the health and appearance of your nails. This simple step ensures that your ombre nails remain vibrant and beautiful.
Protecting Your Nails
Avoid exposing your nails to harsh chemicals and excessive water to prevent damage. When doing household chores, consider wearing gloves to protect your nails from cleaning products and detergents. Taking these precautions helps maintain the integrity of your ombre nails and extends their lifespan.
Scheduling Regular Touch-Ups
To keep your ombre nails looking fresh and flawless, consider scheduling regular touch-ups. This allows you to refresh the design and fix any chips or imperfections that may occur over time. Regular touch-ups ensure that your nails remain a stunning and eye-catching feature.
Conclusion
Ombre nail designs offer endless possibilities for creativity and self-expression. Whether you prefer subtle gradients or bold contrasts, there’s an ombre style to suit every taste and occasion. With a little practice and the right techniques, you can achieve stunning ombre nails at home or enjoy a professional touch at a salon. Try these creative ombre nail designs in 2025 and let your nails make a fashion statement. Embrace the versatility and beauty of ombre nails and explore the endless opportunities for artistic expression that they provide.

